How to install a ladder-type cable tray?
Ladder style cable tray is a device used to support and protect wires and cables, commonly used in buildings, industries, and commercial places. The following are the installation steps for ladder style cable trays:
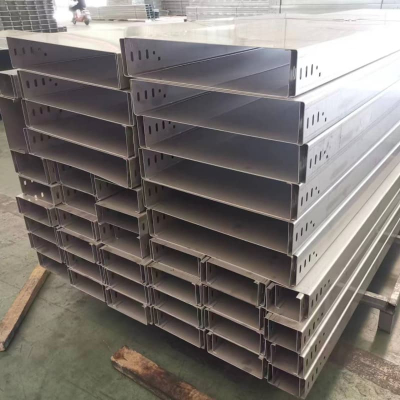
1. Preparation of tools and materials: The tools and materials required for the installation of ladder type bridge frames include ladder frames, connecting plates, bolts, washers, insulators, etc.
2. Measurement and positioning: Measure and locate the position of the bridge according to the design drawings. Mark the installation position of the bridge on the wall or ceiling.
3. Installation bracket: Install brackets on walls or ceilings to support cable trays. The installation method of the bracket can be fixed or suspended, depending on the design requirements.
4. Connecting the bridge frame: Connect the ladder frame in the form of a bridge frame, and fix the ladder frame together using connecting plates and bolts.
5. Install insulators: Install insulators at the end of the bridge to support wires or cables.
6. Install cover plate: Install a cover plate at the top of the bridge to protect wires or cables from damage.
7. Testing and acceptance: After installation, conduct electrical testing and acceptance to ensure the proper functioning of the bridge.
It should be noted that when installing ladder style cable trays, relevant electrical safety regulations should be followed to ensure that wires or cables are not damaged and to prevent safety issues such as short circuits or leakage.